⚡ Stop Searching for Components: Use LocatorJS with Next.js
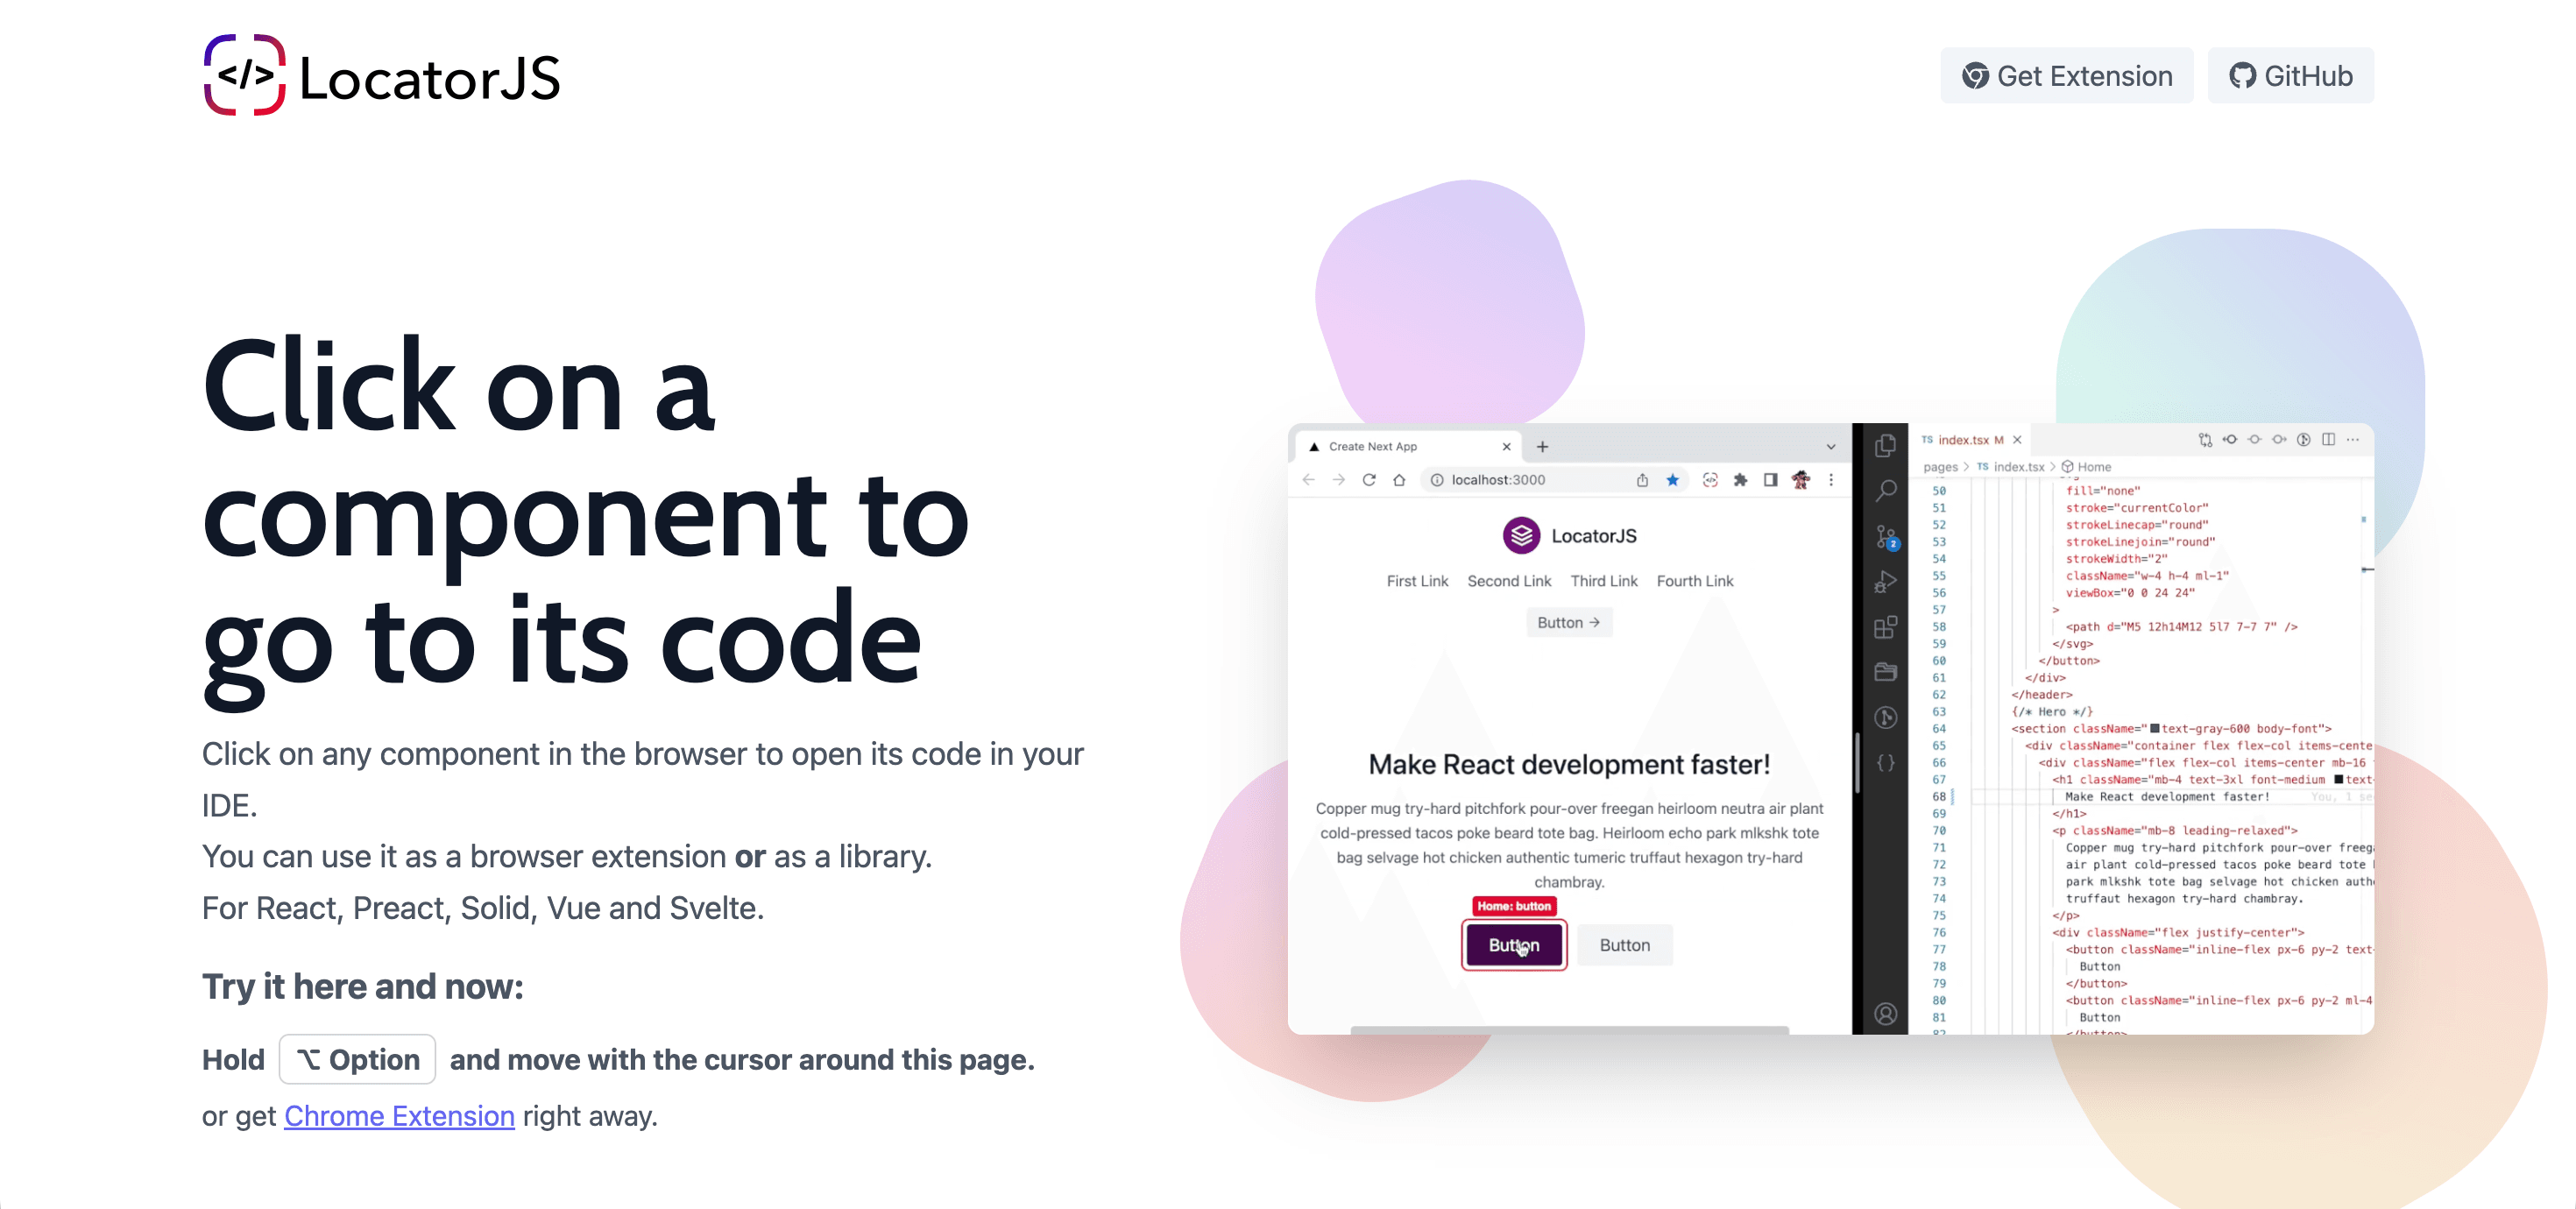
When working on a large Next.js project, you’ve probably had this moment:
“I can see this button on the page… but which component is rendering it?”
I regularly run into this while working on Pasalify, my Next.js-based SaaS e-commerce platform.
As a project grows—with reusable storefront sections, product components, dashboards, forms, and a website builder—finding the exact source file behind an element can become surprisingly time-consuming.
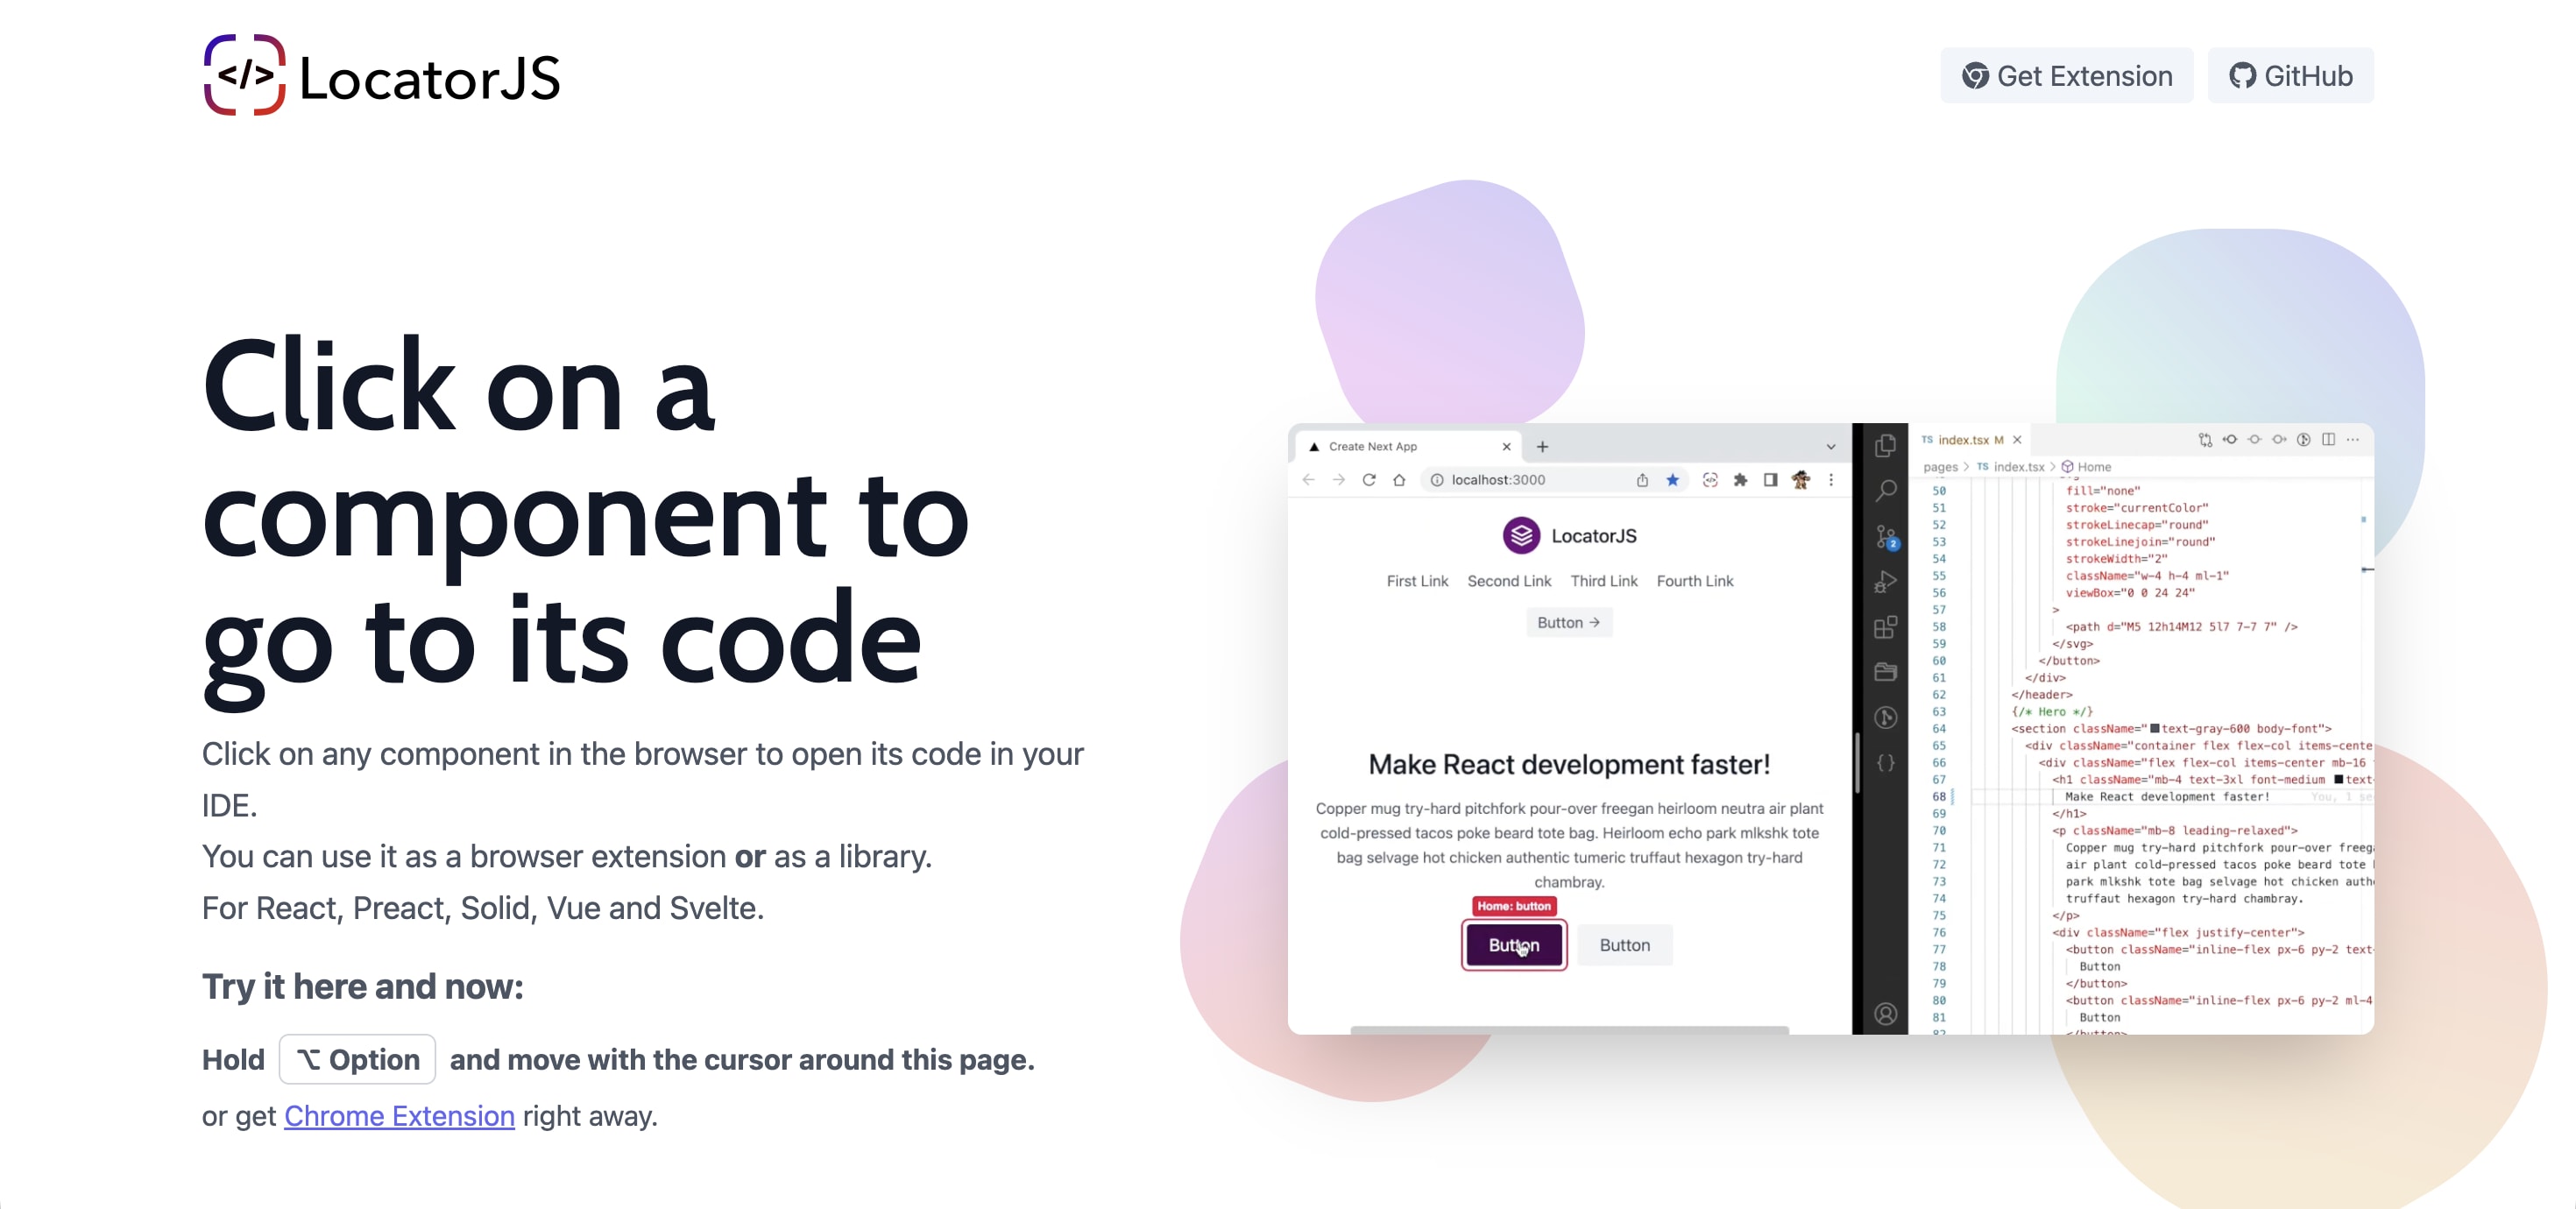
That’s where LocatorJS comes in.
LocatorJS lets you select an element directly in the browser and jump to the corresponding React or Next.js source file in your editor.
Instead of:
See UI → Search project → Trace imports → Find component → EditYou get:
See UI → LocatorJS → Component → Edit 🚀It’s a small workflow improvement, but it becomes incredibly useful in a component-heavy application.
What Is LocatorJS?
LocatorJS is a development tool that connects the UI you see in the browser with the source code that generated it.
Imagine you see a product card, navigation menu, button, form, or storefront section inside your Next.js application.
You know what you want to change, but you don’t know whether the component is inside:
components/
features/
storefront/
products/
shared/
ui/
Instead of searching through the entire project manually, LocatorJS can take you directly to the relevant file and line.
Using LocatorJS in Pasalify
Here is an example from Pasalify.

A Pasalify storefront containing multiple reusable Next.js components.
Imagine I want to modify one of the product cards on this page.
Normally, I might:
- Search for some visible text.
- Inspect the DOM.
- Search several folders.
- Trace component imports.
- Eventually find the correct file.
With LocatorJS, the process is much faster.
On macOS, hold:
⌥ OptionOn Windows or Linux, hold:
AltThen hover over the element you want to locate.
📸 LocatorJS Highlighting a Pasalify Component
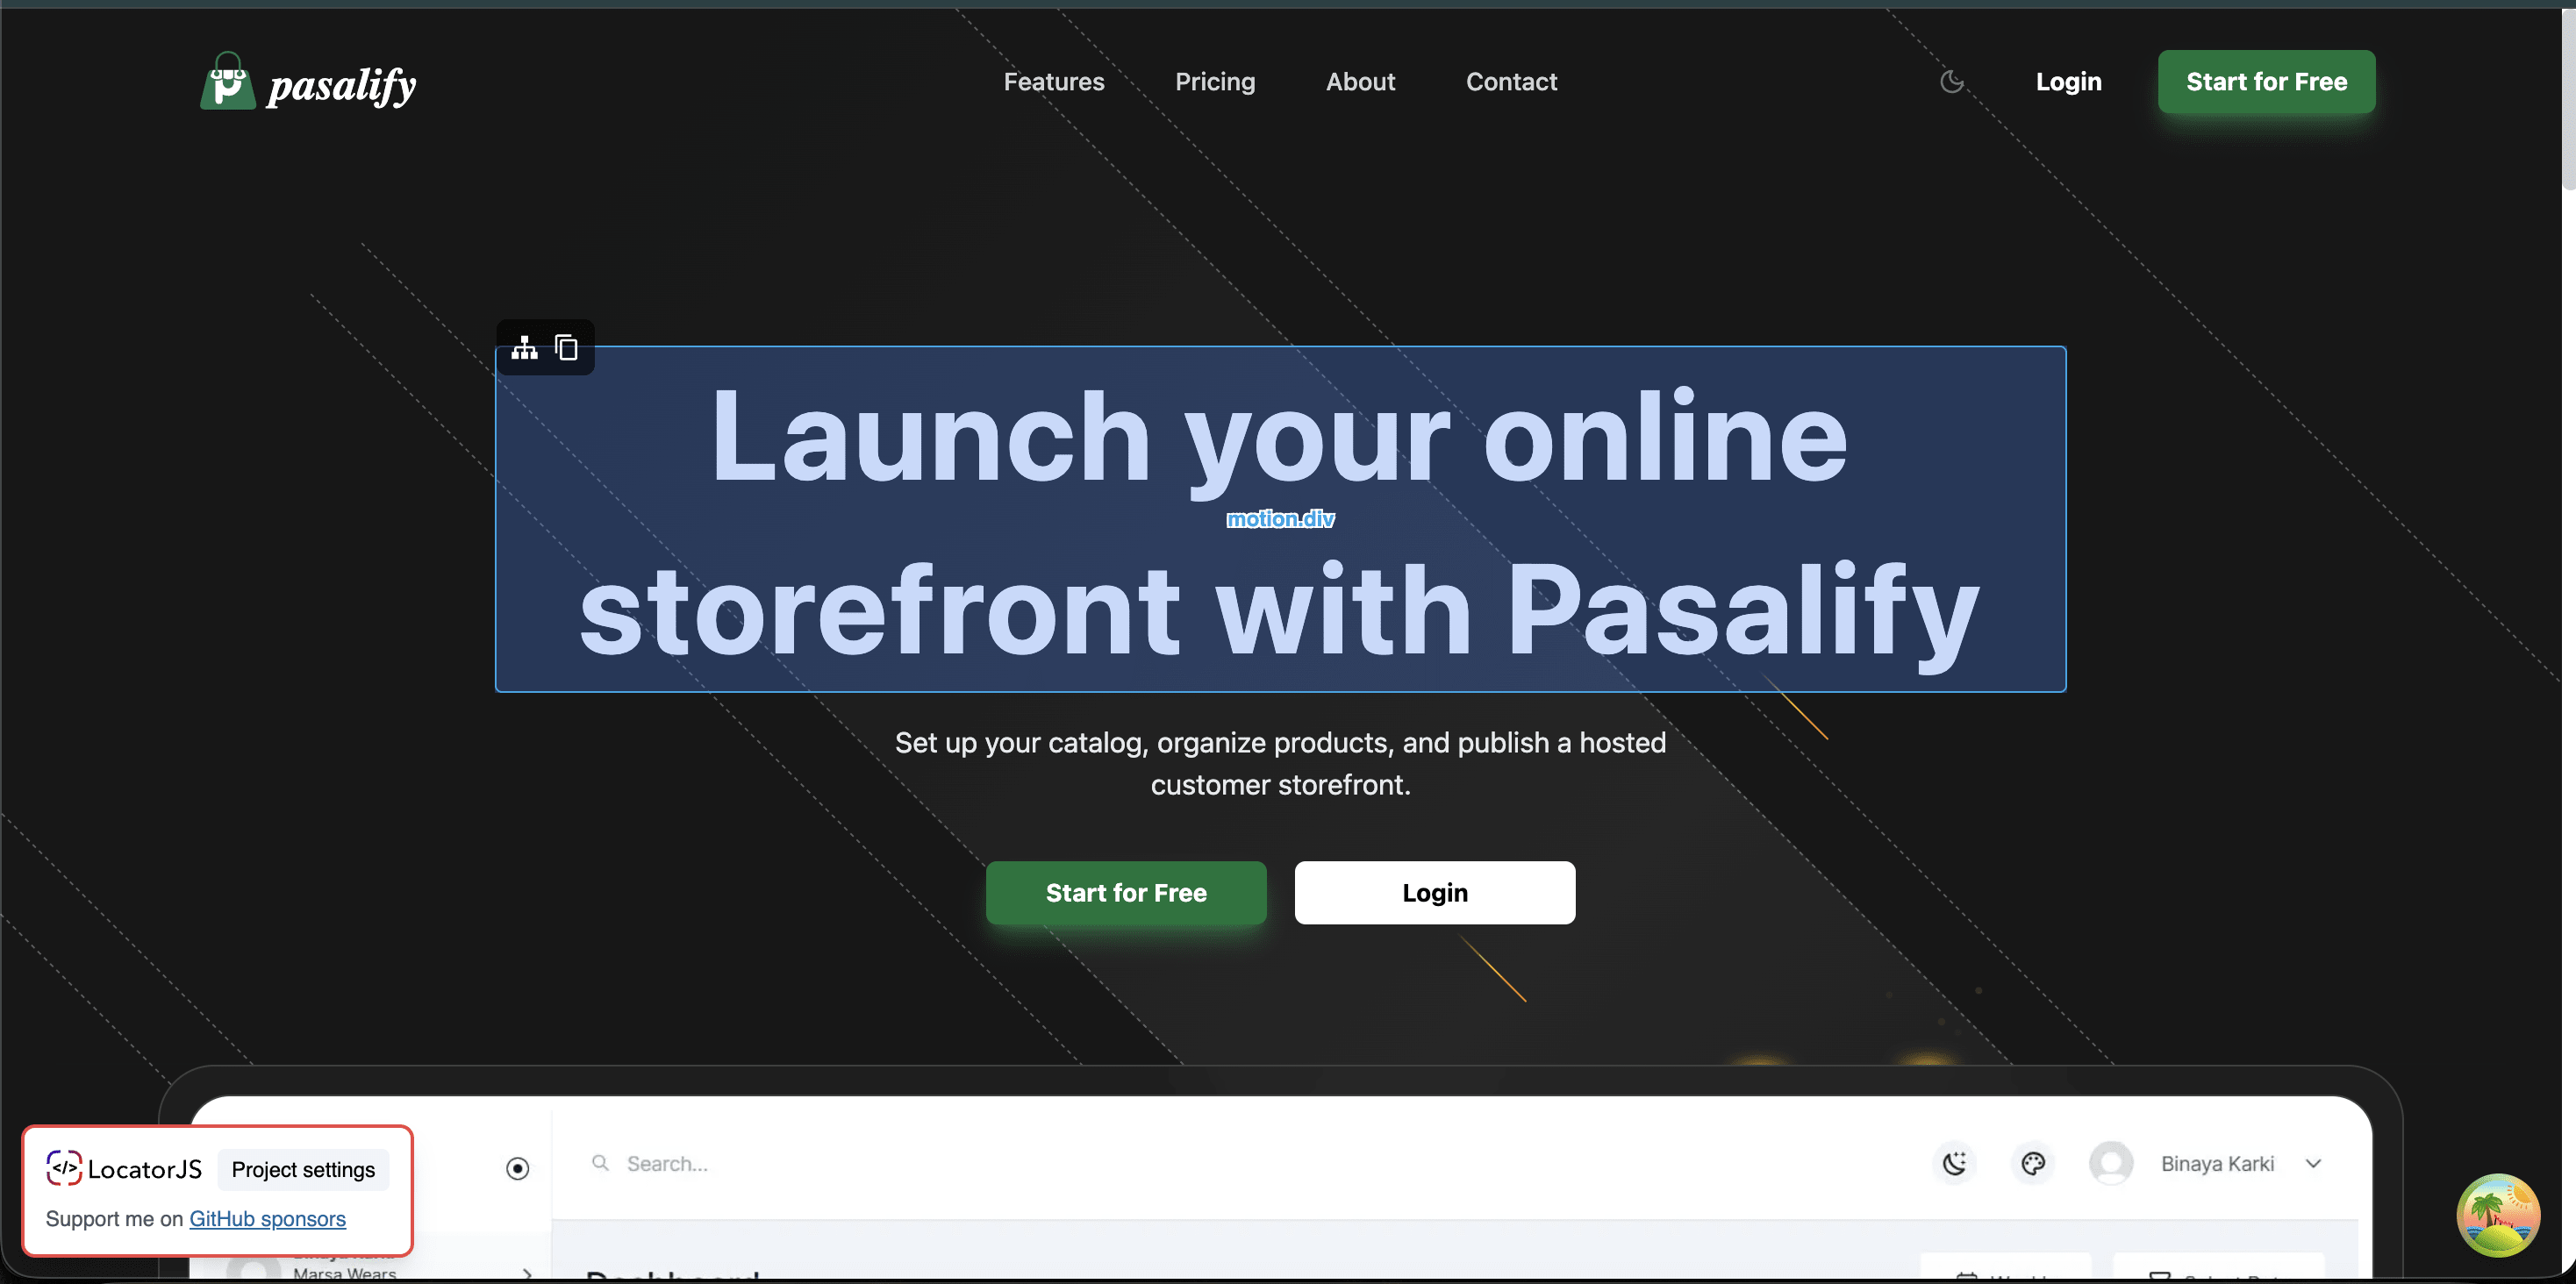
LocatorJS highlighting a component directly inside the Pasalify storefront.
Once I click the highlighted element, LocatorJS can open the related component directly in my editor.
📸 Component Opened in VS Code
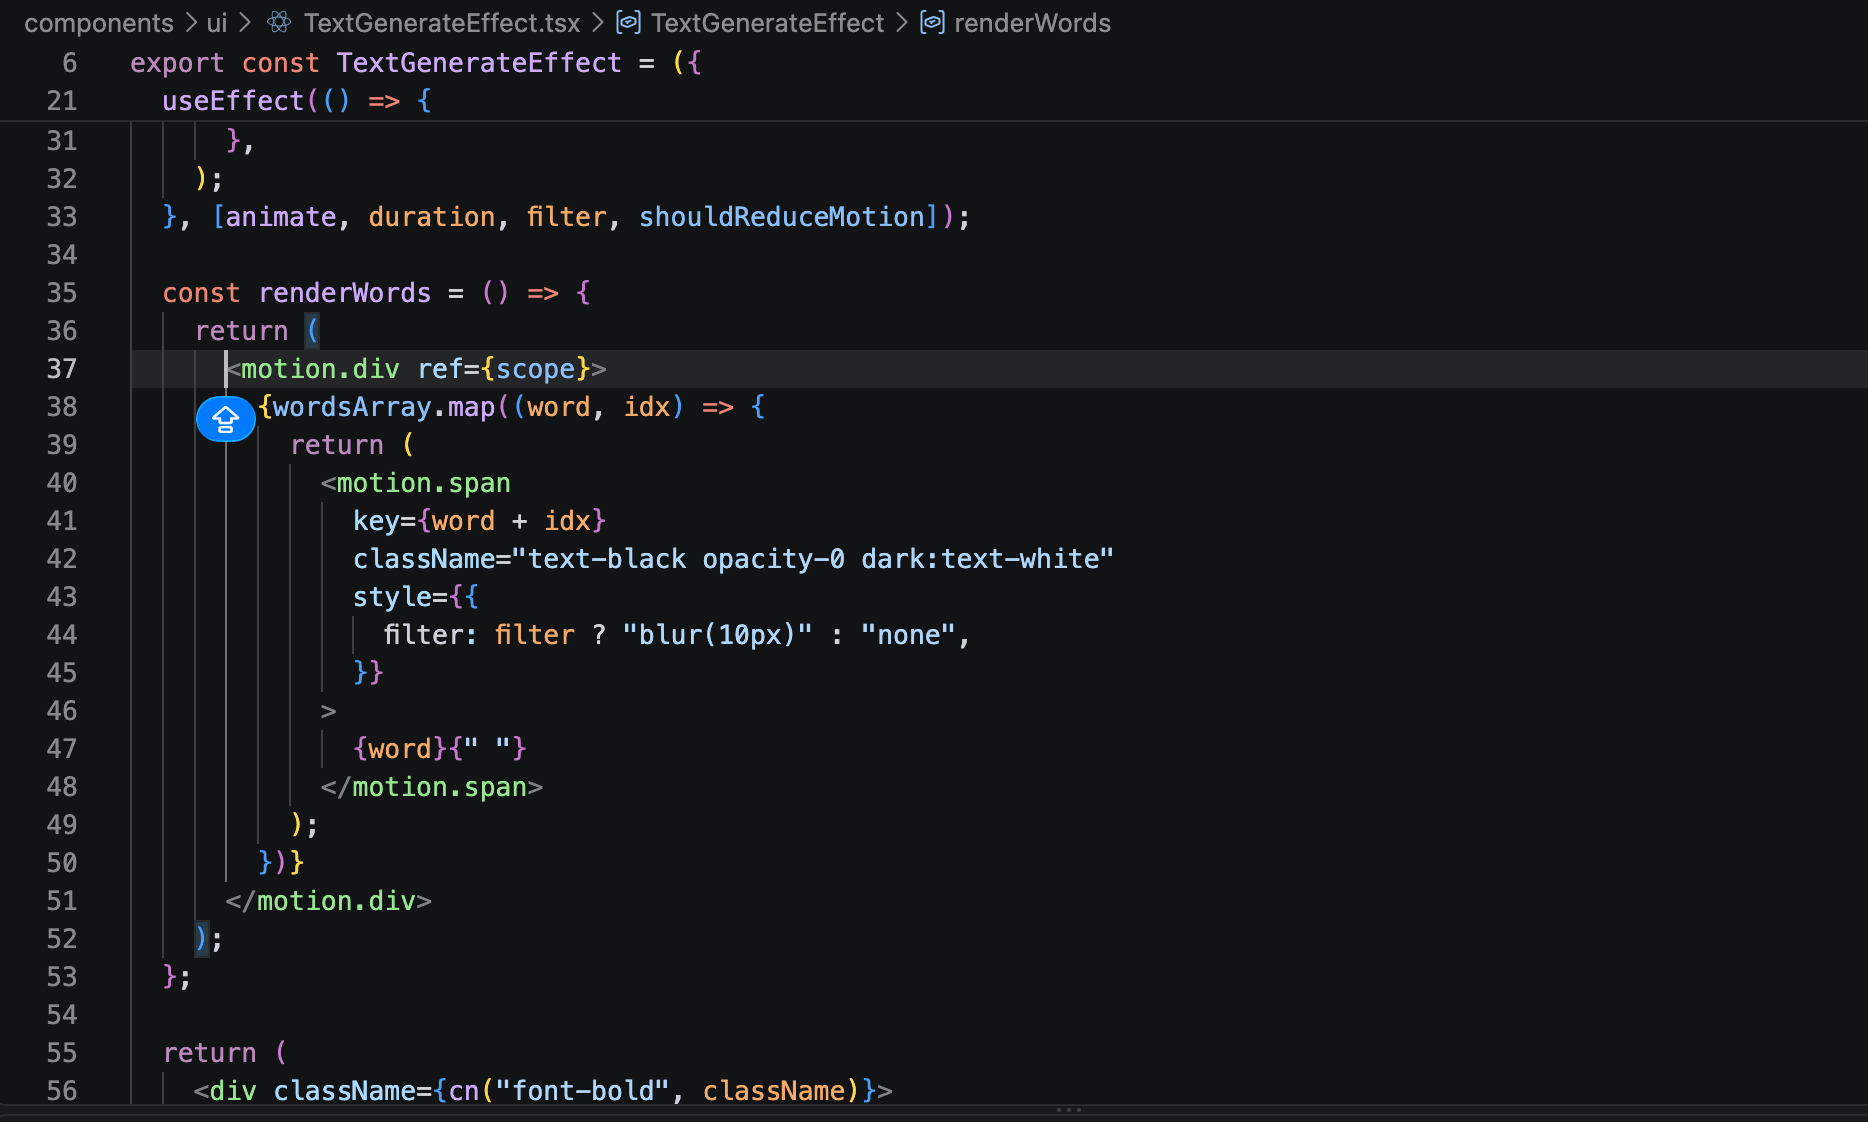
Jumping directly from the Pasalify UI to the React component responsible for it.
The workflow becomes:
Pasalify UI
     ↓
LocatorJS
     ↓
ProductCard.tsx
     ↓
Edit
     ↓
Next.js Fast Refresh ⚡
That’s the main reason I like LocatorJS.
Installing LocatorJS in Next.js
Pasalify uses pnpm, so the following examples use pnpm.
Install the webpack loader and matching runtime versions:
pnpm add -D @locator/webpack-loader@0.5.1 @locator/runtime@0.5.1If you use npm instead:
npm install -D @locator/webpack-loader@0.5.1 @locator/runtime@0.5.1Keeping the loader and runtime on matching versions is important. The loader generates source metadata, while the runtime reads that metadata and provides the interactive overlay.
Configuring Next.js with Webpack
If your Next.js project uses Webpack, update next.config.js:
/**
 * @type {import("next").NextConfig}
 */
module.exports = {
  webpack: (config, { dev }) => {
    if (dev) {
      config.module.rules.push({
        test: /\.(tsx|ts|jsx|js)$/,
        exclude: /node_modules/,
        use: [
          {
            loader: "@locator/webpack-loader",
            options: {
              env: "development",
            },
          },
        ],
      });
    } else {
      config.resolve.alias = {
        ...config.resolve.alias,
        "@locator/runtime": require.resolve(
          "./lib/locator-runtime-noop.ts",
        ),
      };
    }

    return config;
  },
};
The loader is only enabled when Next.js is running in development mode.
It adds source metadata similar to this:
data-locatorjs="/Users/username/projects/example/app/page.tsx:15:6"This tells LocatorJS exactly which file, line, and column generated an element.
Configuring Next.js with Turbopack
If your project explicitly runs Next.js with Turbopack, configure a Turbopack loader rule instead:
/**
 * @type {import("next").NextConfig}
 */
module.exports = {
  turbopack: {
    rules: {
      "**/*.{tsx,jsx}": {
        loaders: [
          {
            loader: "@locator/webpack-loader",
            options: {
              env: "development",
            },
          },
        ],
      },
    },
  },
};
Use the configuration for the bundler your project actually runs. Don’t add both unless your development workflow genuinely switches between Webpack and Turbopack.
Adding the LocatorJS Runtime
Create a client component such as:
providers/LocatorProvider.tsxAdd the following:
"use client";

import setupLocatorUI from "@locator/runtime";
import { useEffect } from "react";

export function LocatorProvider() {
  useEffect(() => {
    if (process.env.NODE_ENV !== "development") {
      return;
    }

    setupLocatorUI({
      adapter: "jsx",
    });
  }, []);

  return null;
}
Using useEffect ensures LocatorJS initializes after the application has mounted in the browser.
The important part is:
adapter: "jsx"This tells LocatorJS to use the source metadata created by @locator/webpack-loader.
It is especially useful for modern Next.js applications using App Router, Server Components, or React versions where relying entirely on React DevTools source detection may not work reliably.
Mounting the Provider
Add LocatorProvider to your root provider tree:
import { LocatorProvider } from "@/providers/LocatorProvider";

export function Providers({
  children,
}: {
  children: React.ReactNode;
}) {
  return (
    <>
      <LocatorProvider />
      {children}
    </>
  );
}
Alternatively, add it directly to your root layout:
import { LocatorProvider } from "@/providers/LocatorProvider";

export default function RootLayout({
  children,
}: {
  children: React.ReactNode;
}) {
  return (
    <html lang="en">
      <body>
        <LocatorProvider />
        {children}
      </body>
    </html>
  );
}
If your Next.js application contains multiple root layouts or completely separate provider trees, add LocatorProvider to each development tree where you want LocatorJS available.
Keeping the Runtime Out of Production
Even if the runtime setup is protected by:
process.env.NODE_ENV === "development"a static import may still cause the LocatorJS package to appear in a production bundle.
To prevent that, the Webpack configuration above aliases @locator/runtime to a production no-op module.
Create:
lib/locator-runtime-noop.tsAdd:
export default function setupLocatorUI() {
  return undefined;
}
During development, Next.js uses the real LocatorJS runtime.
During production builds, it resolves the import to this empty implementation.
This gives us:
Development:
Loader enabled + LocatorJS runtime enabled

Production:
Loader disabled + LocatorJS runtime replaced with no-op
Fixing “No Source Found”
While configuring LocatorJS, I encountered this message:
No source foundAt first, it looked like the problem was my custom VS Code link.
It wasn’t.
The page already contained valid source attributes such as:
data-locatorjs="/Users/.../pasalify/app/page.tsx:15:6"The actual problem was version compatibility.
The newer webpack loader uses path-based data-locatorjs attributes. An older browser extension/runtime may not understand that newer metadata format.
The result is:
Loader successfully adds source information
                    ↓
Older runtime cannot understand it
                    ↓
“No source found”
The reliable fix was to install a matching runtime version and initialize it inside the application:
pnpm add -D @locator/webpack-loader@0.5.1 @locator/runtime@0.5.1Then force the path-aware JSX adapter:
setupLocatorUI({
  adapter: "jsx",
});
After restarting the development server and refreshing the browser, LocatorJS correctly detected the component source.
Configuring the VS Code Link on macOS
For VS Code on macOS, this custom link is correct:
vscode://file/${projectPath}${filePath}:${line}:${column}The generated URL will look similar to:
vscode://file//Users/username/Projects/example/app/page.tsx:15:6The double slash before Users is expected because the macOS file path is absolute.
It’s important to understand that this custom link is used after LocatorJS has found the source.
Therefore:
“No source found” = source metadata/runtime problemWhile:
Source found, but VS Code does not open = editor URL-handler problemIf LocatorJS detects the component but VS Code does not open:
- Make sure Visual Studio Code is installed.
- Open VS Code at least once.
- Restart the browser.
- Confirm that
vscode://links are allowed by the browser. - Reinstall VS Code if macOS has not registered the URL handler.
Restart the Development Server
Changes to next.config.js require a complete development server restart.
Stop the existing server and run:
pnpm devThen perform a hard refresh in the browser.
On macOS:
Command + Shift + ROn Windows/Linux:
Ctrl + Shift + RAfter the refresh:
- Hold Option or Alt.
- Hover over a component.
- Confirm the component is highlighted.
- Click it.
- Allow the browser to open VS Code if prompted.
If both the browser extension and the embedded runtime display overlays, disable the browser extension for the local site and use the project runtime.
Verifying the Production Setup
Always run a production build after configuring a development tool:
pnpm run buildThe build should complete successfully.
You can also inspect the production output to confirm that source attributes and the LocatorJS runtime were excluded.
LocatorJS should improve development without affecting production users, production HTML, or the production JavaScript bundle.
Why Not Just Use Browser DevTools?
Browser DevTools are still essential.
I use DevTools for:
- CSS debugging
- Network requests
- Console errors
- Responsive layouts
- DOM inspection
- Performance analysis
- Storage and cookie inspection
LocatorJS solves a different problem:
“Where is this UI element in my source code?”
LocatorJS doesn’t replace DevTools. They work extremely well together:
DevTools + LocatorJS + VS Code + Next.js ⚡Before vs. After
Without LocatorJS:
UI
 ↓
Inspect element
 ↓
Search visible text
 ↓
Search folders
 ↓
Trace imports
 ↓
Find component 😩
With LocatorJS:
UI → Option/Alt → Click → Component 🚀When you work on a component-heavy application every day, those saved seconds quickly add up.
Final Thoughts
LocatorJS doesn’t make a Next.js application faster.
It doesn’t improve SEO, optimize images, or magically fix bugs.
What it does is remove one small but frequent frustration:
Finding the source code behind the UI.
Instead of asking:
Where is this component? 🤔You can simply:
Hover → Click → Code 🚀For larger React and Next.js projects, LocatorJS is definitely worth trying.
Sometimes the best developer tools aren’t the ones solving enormous problems.
They’re the ones that remove the small annoyances we deal with every day.